
THE COLLECTION, EXPLAINEDInside Featured Keycaps
A focused edit of distinctive keycap designs, with the details worth checking before you choose.

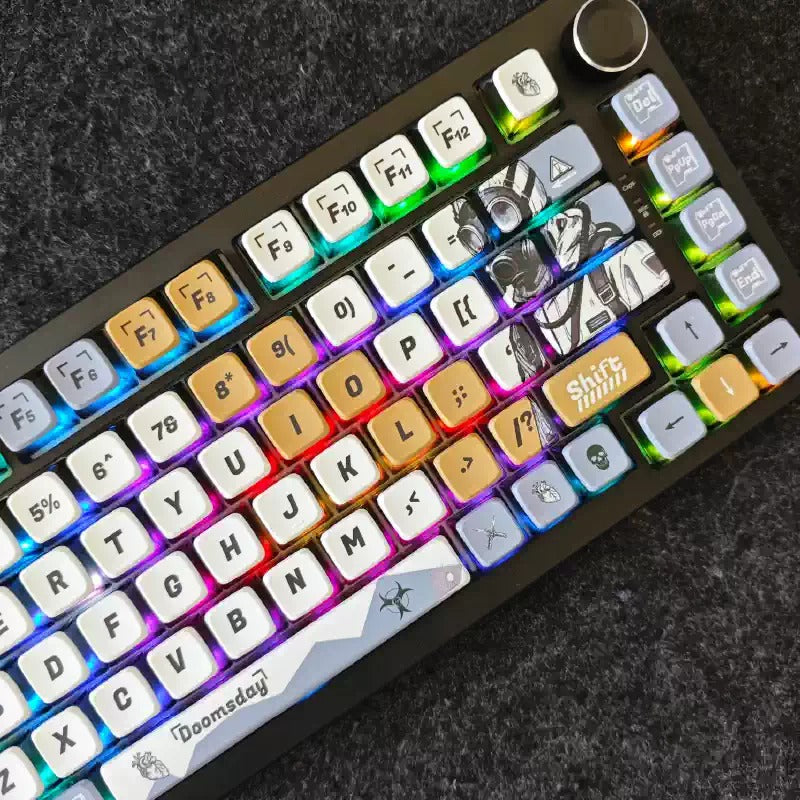
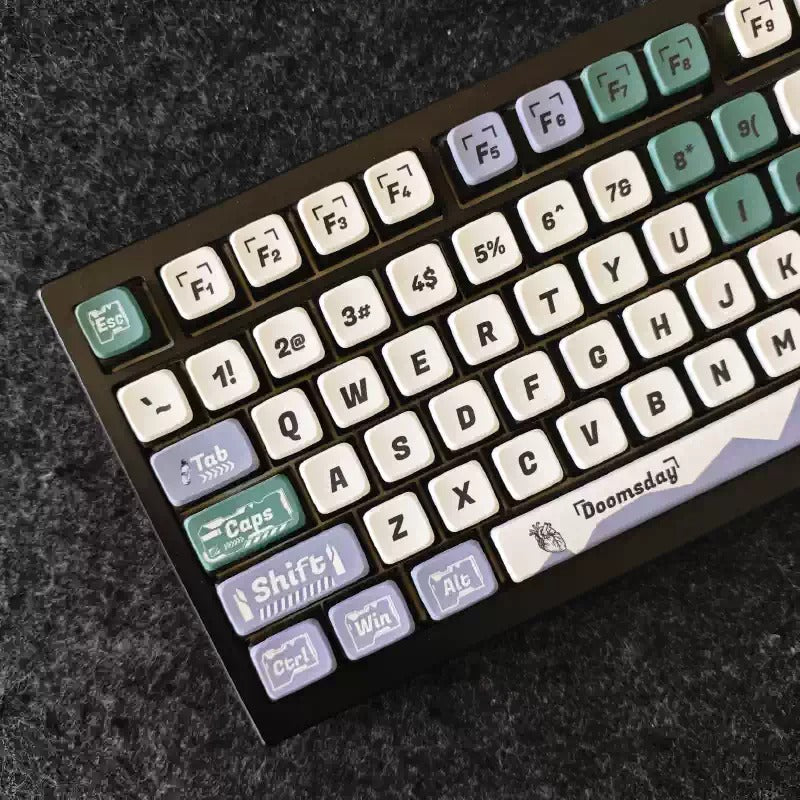
Featured Keycaps brings together the designs highlighted in our current selection. Discover the white, teal and lavender palette of the Doomsday Mecha set, explore the product photographs and compare the options shown on its page. The collection is an introduction to the design; the selected product and kit remain the source for what is included.
Check the details that make the difference
Give fit the same attention as colour. Compare the key sizes and mounting stem with your own keyboard, including the spacebar and modifier row. Review the available kit and layout options before deciding, and use the product guide when a board has an unusual arrangement. A visual match does not mean every keyboard is compatible.
A little guidanceF.A.Q
Understand the details. Choose with confidence.

What should I compare before choosing a keycap set?
Begin with the keyboard you already use: its layout, switch stems and the sizes of its longer keys matter more than a matching colour scheme. Then compare the shape of the keycaps, the stated material, the position of the legends and the exact kit contents. A visually similar set can have different coverage, so treat appearance and compatibility as two separate checks.
Think about daily use as well as photographs. Consider whether you prefer clear legends, a quieter-looking desk or decorative accents, and whether lighting is important to you. Sound and typing feel also depend on switches, the keyboard case and the desk surface; a keycap style alone cannot promise a particular result. Confirm any specification that is not clearly stated before making your choice.
How can I check whether a set fits my keyboard?
Start by identifying the keyboard's switch stem and physical layout. Keycaps intended for one stem type should not be assumed to fit another, and low-profile or proprietary mechanisms may require different parts. Next compare the layout with the kit information: ANSI and ISO Enter keys differ, and keyboards with the same overall percentage can still use different Shift, modifier or bottom-row key sizes.
Pay particular attention to the spacebar and the stabilised keys, including their size and mounting arrangement. Count alone is not a compatibility test; a large kit can still omit one key your board needs. Compare each non-standard position with the actual included pieces, and check any switch-clearance notes. If the stem, layout diagram or key sizes are missing, clarify those details before treating the set as a confirmed fit.
How should I read kit contents and option details?
Read the selected option and the included-items information together. Colour choices and kit sizes can differ, so photographs or specifications associated with one option should not automatically be applied to another. Distinguish the main typing keys from extra modifiers, novelty keys and spare pieces, and check which of those are actually listed as included rather than simply visible in a styled photograph.
A desk photograph may show a keyboard, switches, a cable, a mousepad or other accessories to demonstrate a complete setup. Do not assume those objects are supplied with a keycap set unless they are explicitly included. Likewise, a keyboard-size label does not replace a list or diagram of the individual key sizes. Before choosing, make sure you understand both what arrives and which pieces your own layout will use.
How can I care for keycaps without damaging the finish?
Follow the specific care instructions for the stated material, printing and decorative finish. Before removing keys, disconnect the keyboard and confirm that removal is appropriate for its mechanism. Use a suitable tool carefully and avoid twisting or forcing stabilised keys. Keep track of the row positions, particularly with sculpted profiles, so that the keys return to the intended arrangement when you reinstall them.
Keep liquids away from the assembled keyboard and avoid abrasive tools, strong solvents or high heat unless the supplied instructions explicitly permit them. Different materials and decorative surfaces may need different treatment, so generic cleaning advice is not a guarantee for every finish. If removable keycaps are cleaned separately, allow them to dry completely before refitting. Stop and seek guidance if a key resists removal or the safe cleaning method is unclear.